Example - HyperVoxel volumetrics
This exercise will give you a flavor of some of the volumetric features.
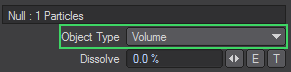
- Using the HyperVoxel from the previous example, change the Object Type from Surface to Volume .
- Go to the HyperTexture Tab and select Turbulence as the texture. You should now see a nice wispy volumetric cloud. This object is totally three dimensional. You could fly the camera into it and continue to see all of the details.
- Let’s add some color. Go to Shading Tab > Basic Tab and click the Color Texture button.
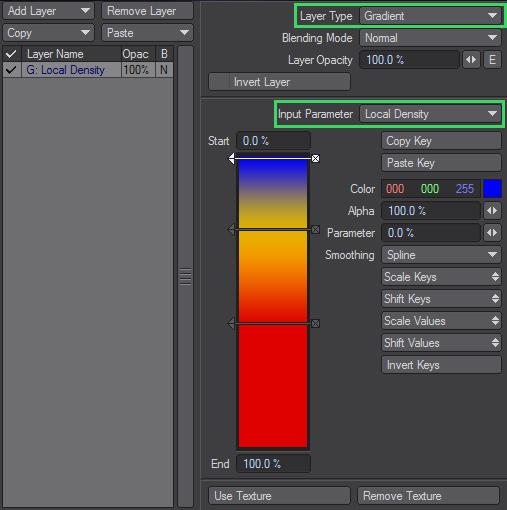
- Change the default Layer Type to a Gradient and use Local Density as the Input Parameter. This will apply the gradient based on the density of the cloud.

- Create three keys: blue, yellow, and red, top to bottom. To create these keys, just click in the gradient bar and then adjust the appropriate Color. You will see VPR updating as you make changes. Click Use Texture to close the panel when you are done.
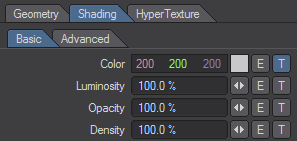
- The options on the Shading > Basic Tab control the basic look of your volumetric HyperVoxel. You can adjust the color, luminosity, opacity, and density. The lower half of the tab controls the fractal look of the object. Try playing with the settings to see their effects.
- Click on the Advanced Sub Tab. As you might expect, this tab contains more advanced options. Included are options to define how the HyperVoxel object is lit, as well as self-shadow options.
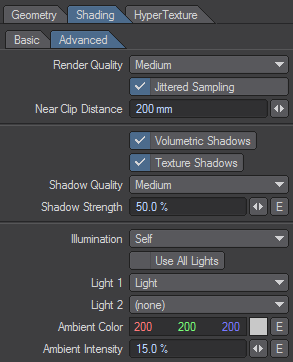
- Try playing with the various settings, including the Sprite Mode.