Example - Light Group
We'll start with our scene. There are three groups of lights over the table.
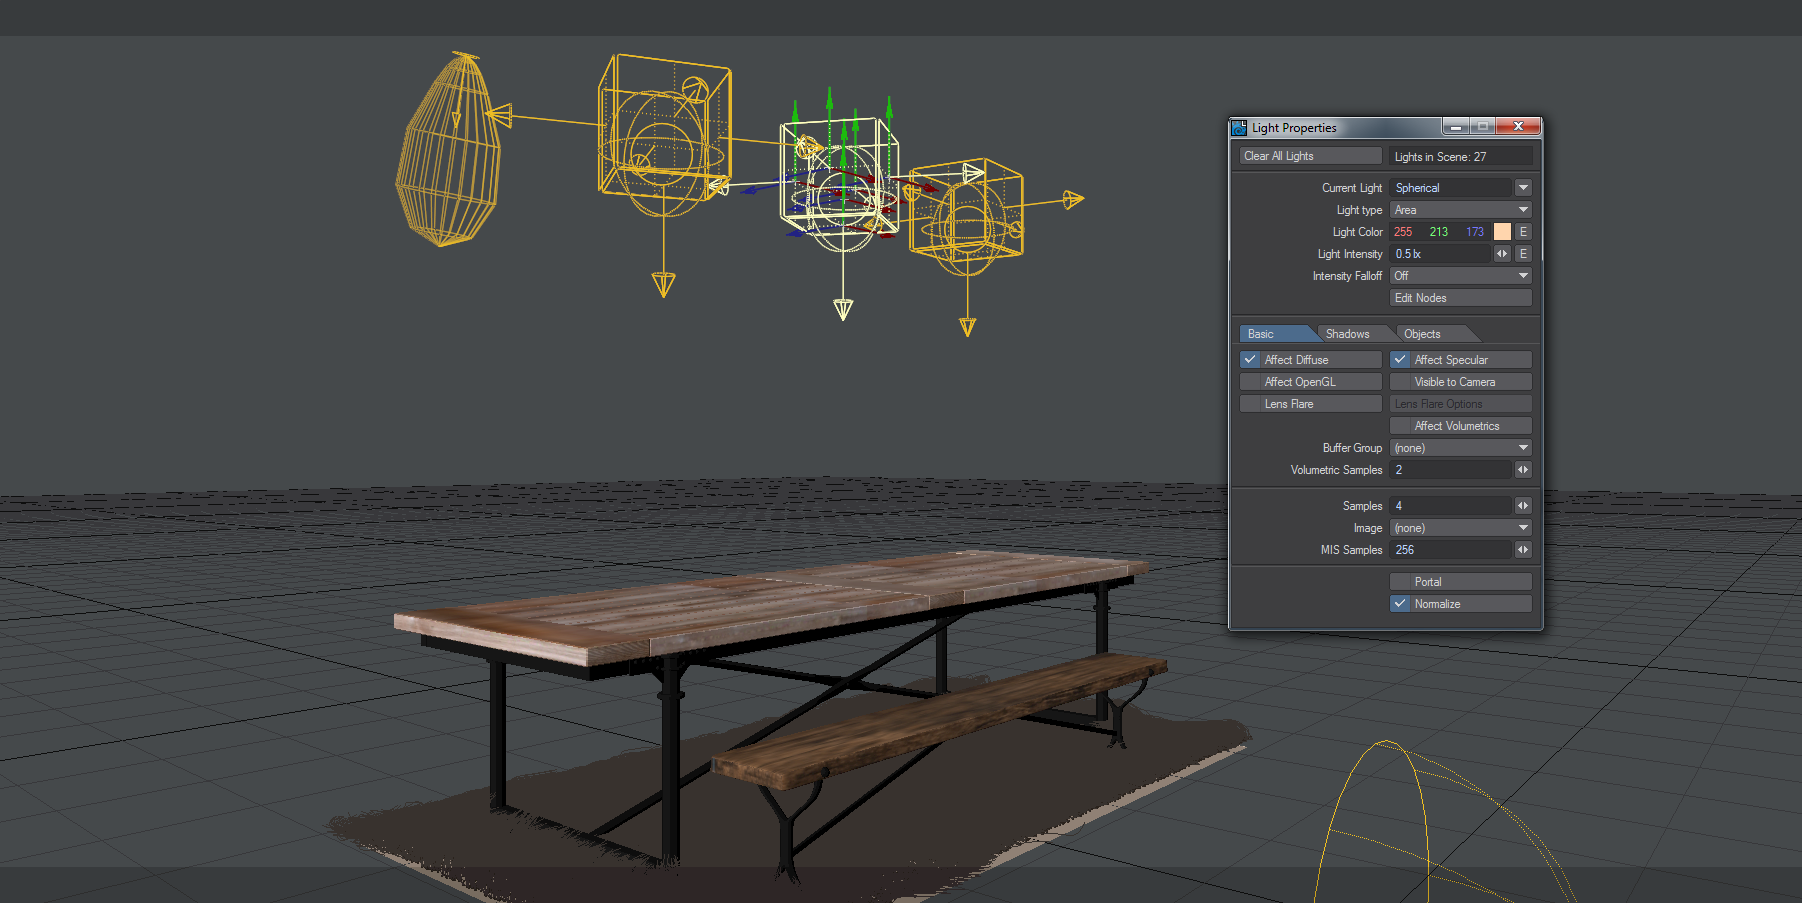
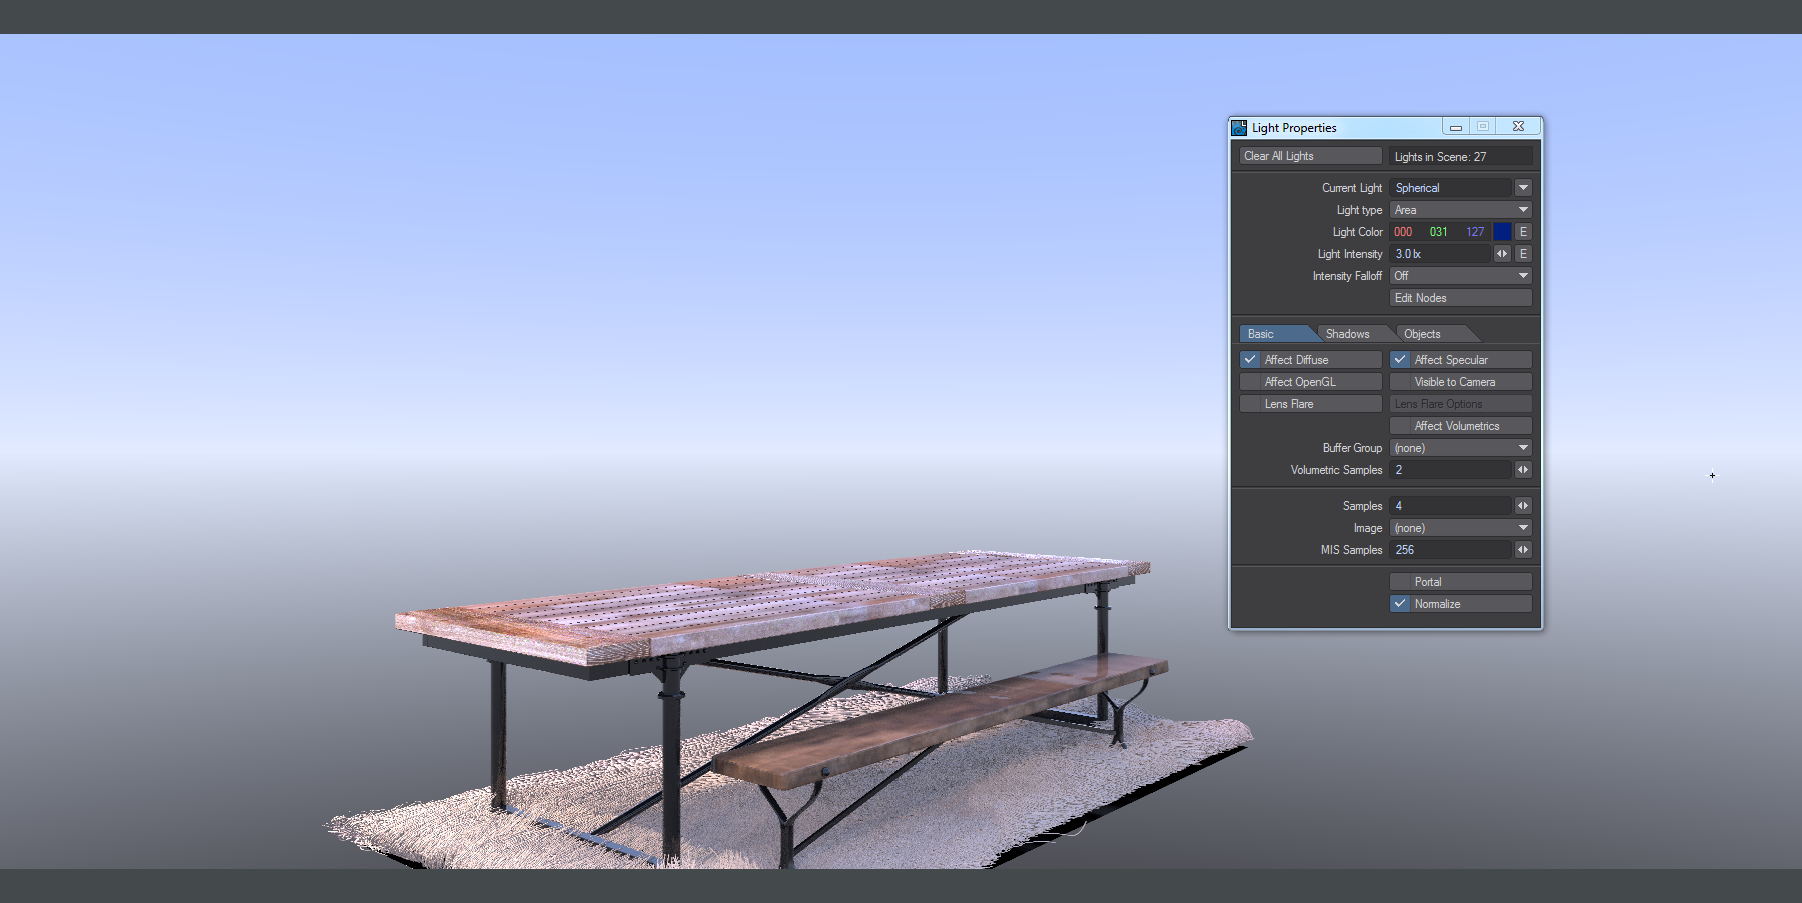
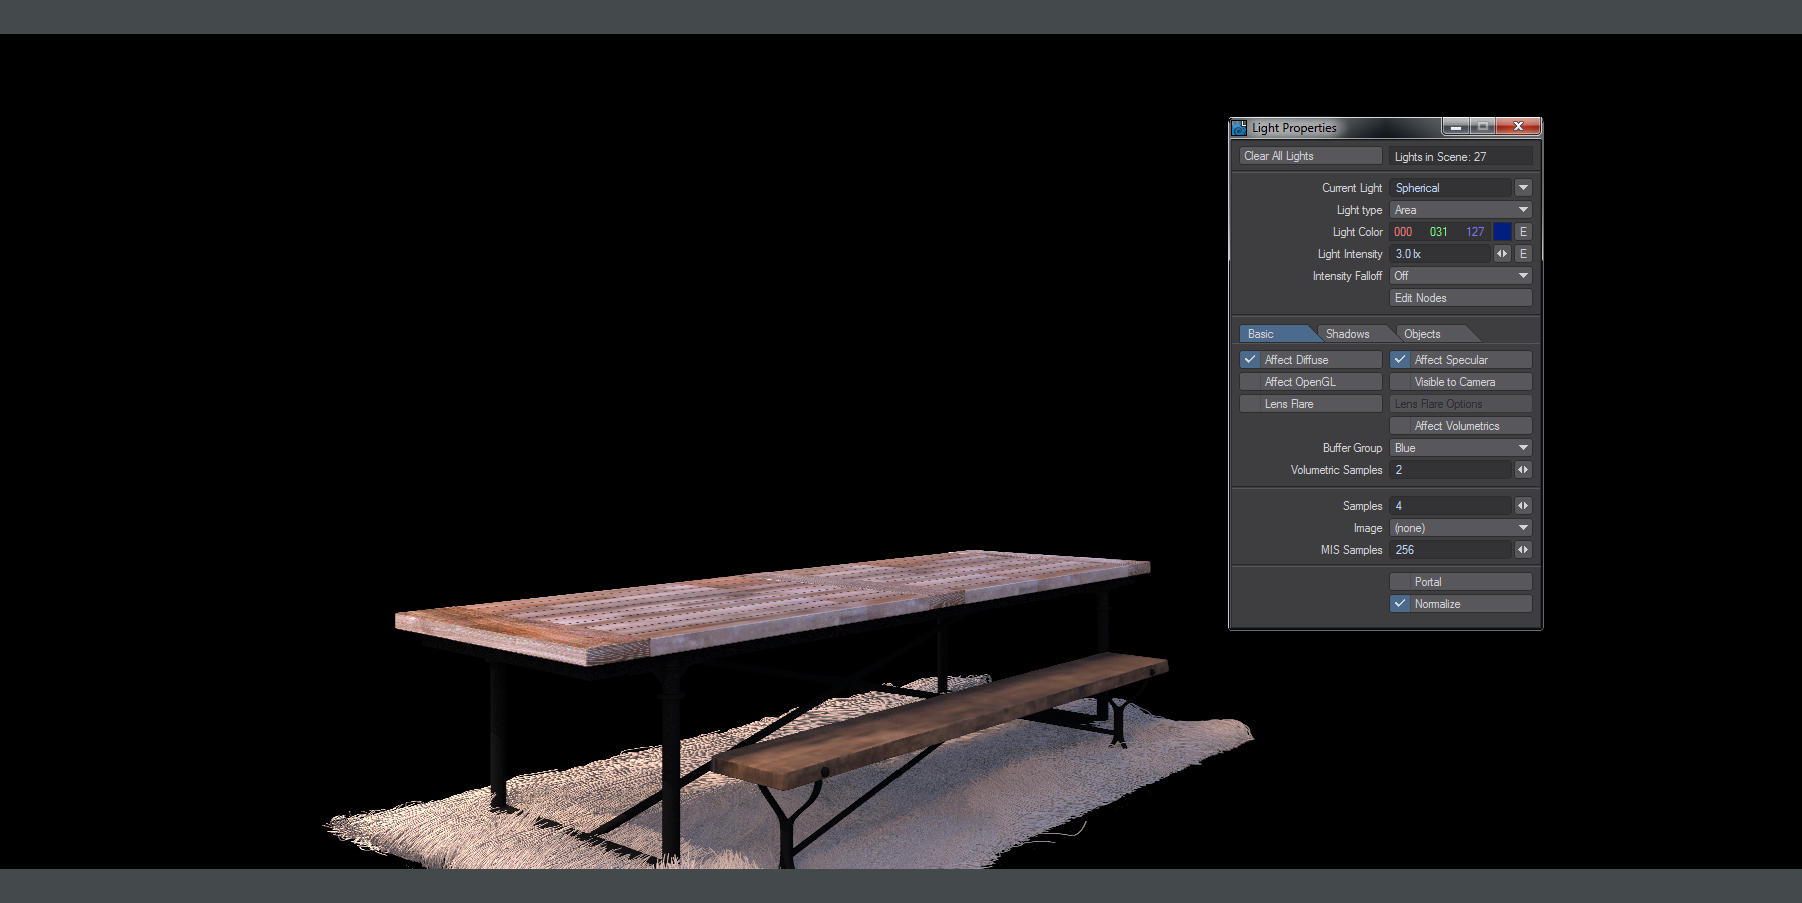
We'll take that center group and change the lights to blue and make them stronger to show the effect better.
There's a definite blue tinge to the table now, but it's not very clear how the lights in the center contribute. If we add those lights to a group of their own, then we can separate their contribution from the other lights over the table. To do so, go to Render Properties (Ctrl-P) and the Buffers tab. In the Edit... dropdown menu choose Create Light Group...
Name your group, we chose Blue.

Then selecting the lights that will belong to this group, choose the group name from the Buffer Group dropdown.
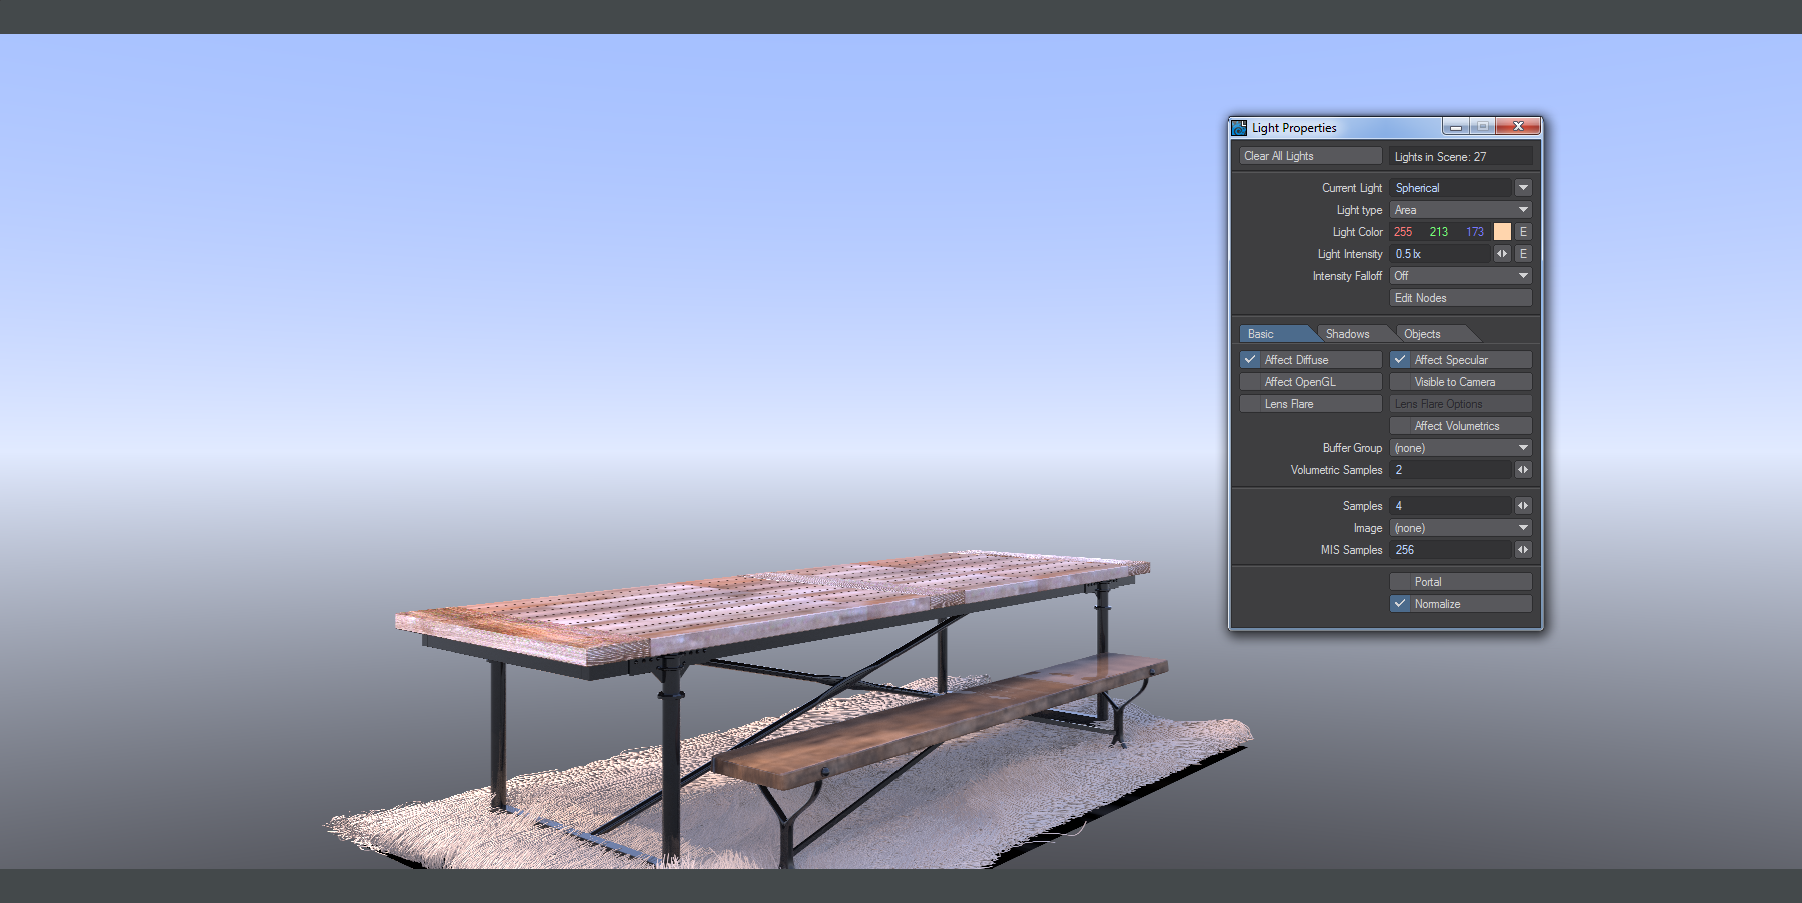
The result will still look the same if you choose final render, but now additional buffers are available in the Buffer dropdown menu. Choosing Direct_Diffuse will give us this render with all the lights apart from the ones in our group.
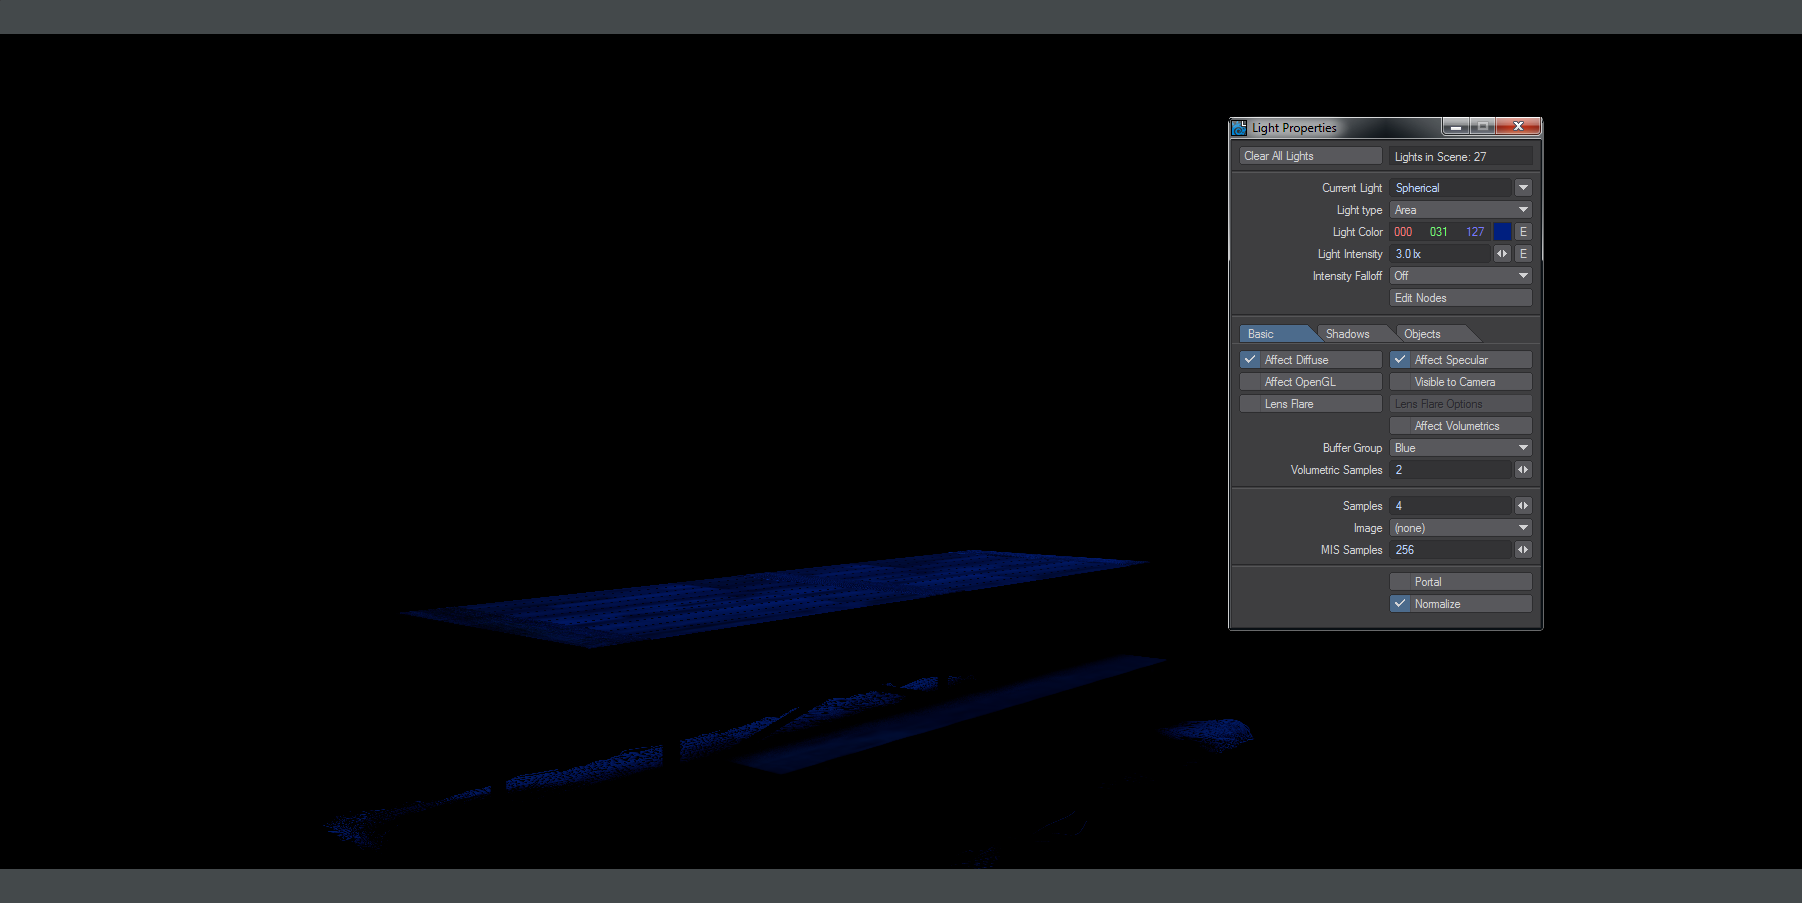
You will see there is also a buffer at the bottom of the list called (in our case) Blue > Diffuse_Direct. That will give you the diffuse direct contribution solely of the lights in our light group.
This gives an incredible amount of power to customize our image. If the art director decides that actually, that middle group of lights should be deep red instead? Rather than having to commit to a costly new render you can simply adjust the hue of this light group's contribution to the final image in a fraction of the time.