Example - Shadow Catcher: Environment Mapping
The difference between Backdrop Image and Environment might need a little explanation. We have loaded the TRex in the Garden scene from the content to show the difference.
This scene was originally provided in the LightWave 11 content, so say Yes to this requester and create a folder for the new version of the scene to protect the original. The Occlusion II node needed for the original scene no longer exists so say No when prompted.
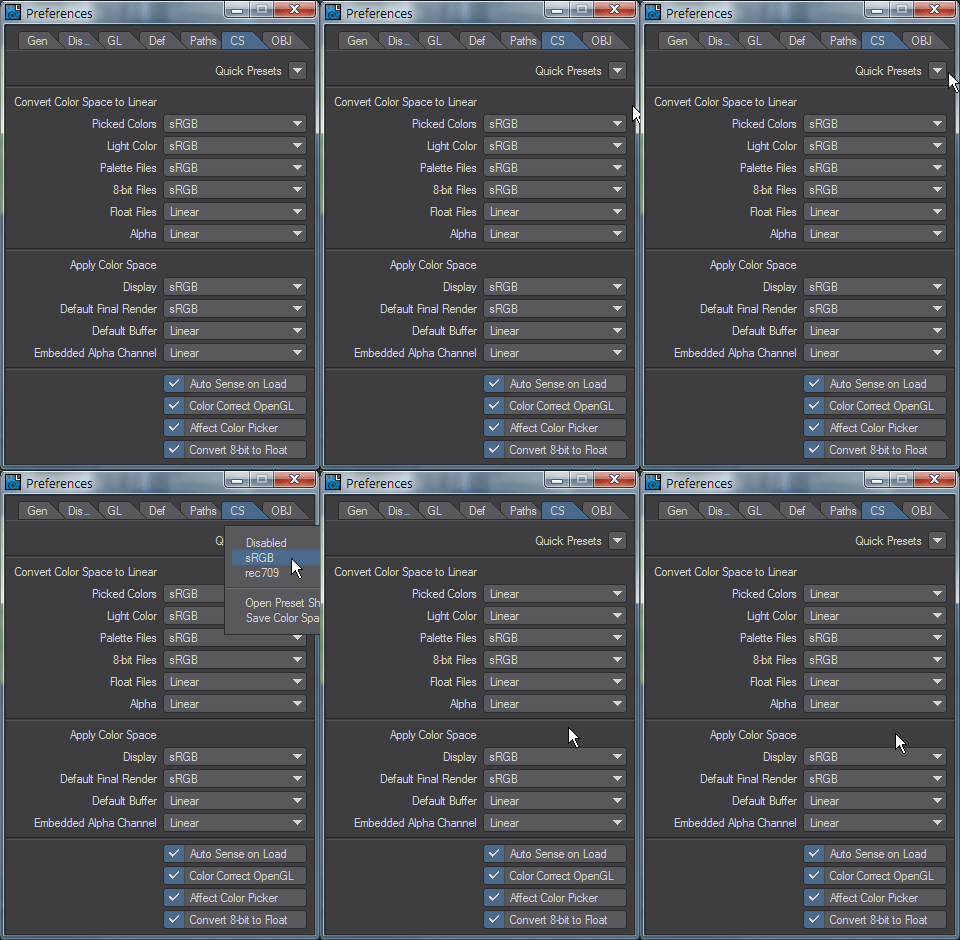
To prepare our scene to show the difference between Backdrop Image and Environment we are going to start by making sure the Color Space settings are correct for 2019.
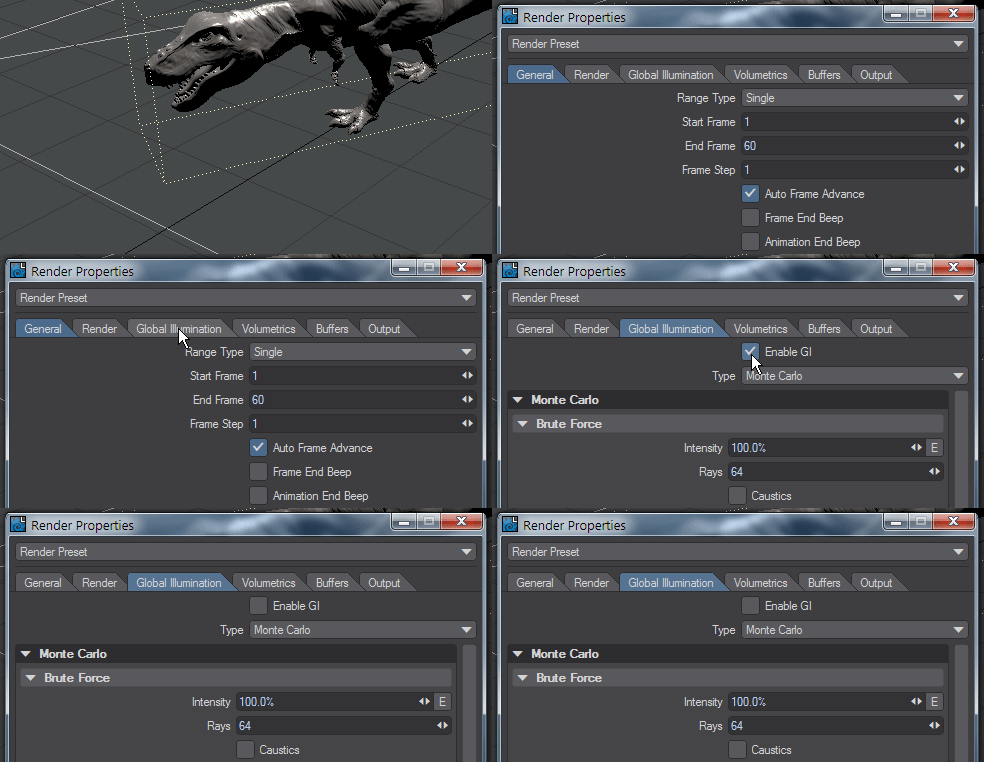
Next, we will turn off GI so only direct light is used. Hit Ctrl-P to open the Render Properties panel, go to the Global Illumination tab and Disable GI.
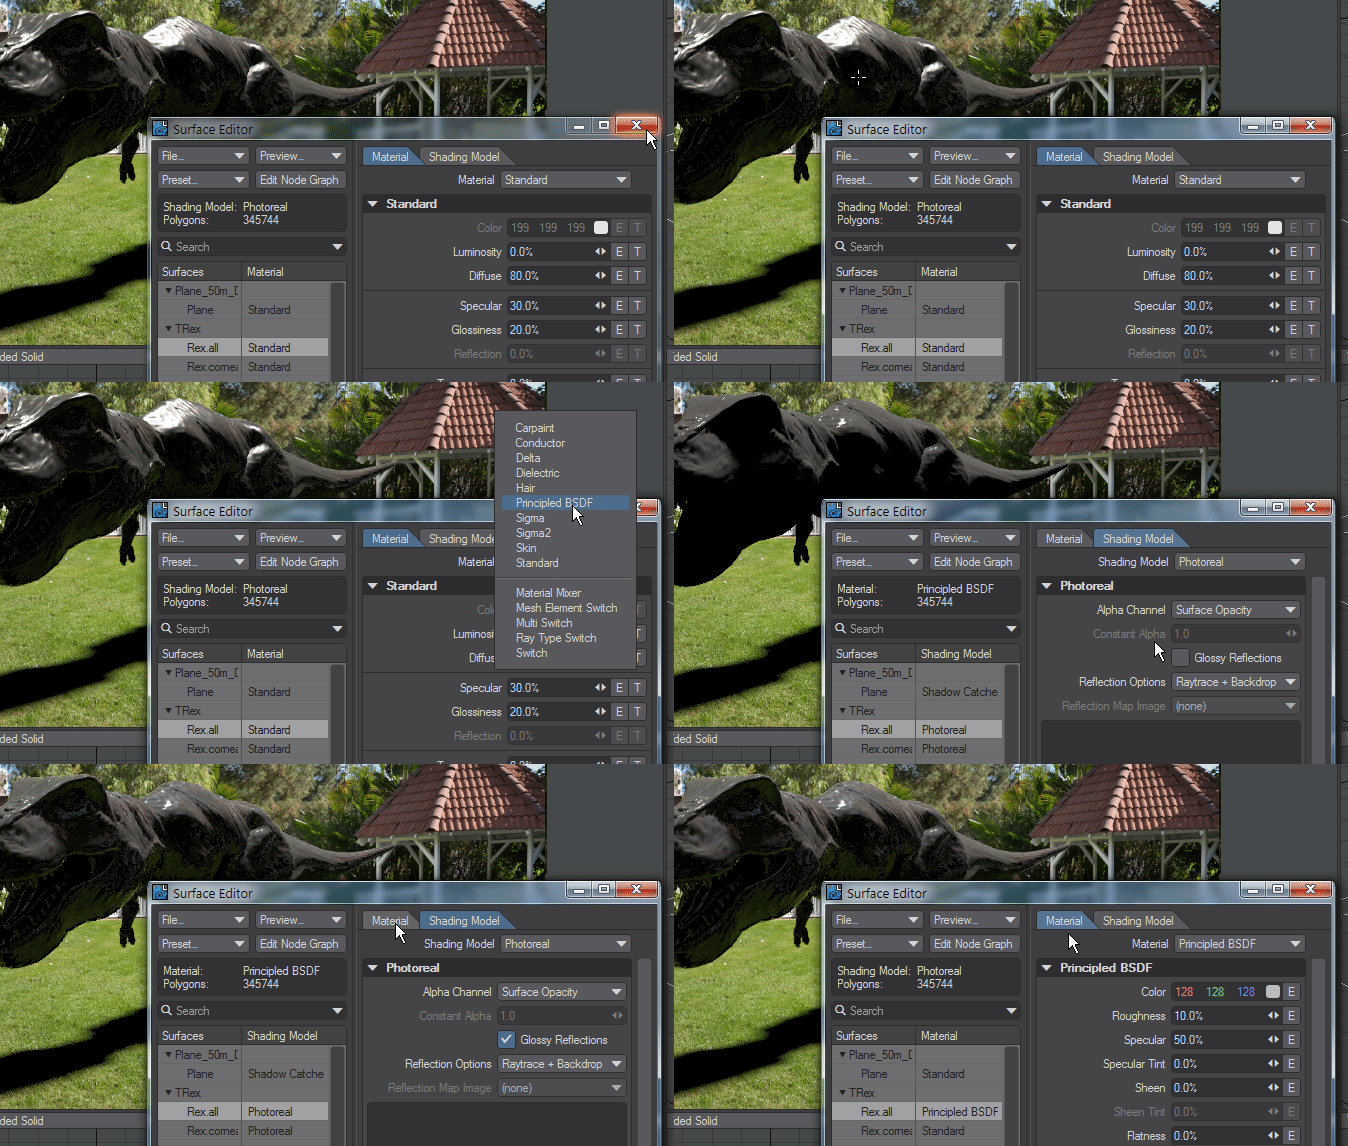
If we now engage VPR you should see the TRex lit from overhead with most of the dino in shadow. To make things clearer we will also change the surfacing for the dino. Shift-click on it in the VPR window to open the Surface Editor with the correct surface selected. Change the Material from Standard to Principled BSDF and in the Shading Model tab turn on Glossy Reflections.
Right now, we are seeing a reflection of the front-projected backdrop image in the underside of the TRex, the green tinge is the grass, but because this image is flat there's nothing above the TRex for the "sky" to be reflected in its back. The Textured Environment in this scene (that basically wraps the same backdrop image around the scene spherically) is responsible for the reflections in the flanks of the dino, but these reflections are in no way accurate since they are just the backdrop image wrapped around. To get better reflections, we need a light probe
If we switch the Shadow Catcher's Backdrop Mode to Environment now, we won't see much difference, but that's because we don't yet have an environment apart from the black backdrop seen in the Effects panel (Ctrl-F5).
xxx


