Example - Layer Material Components
Layer Materials can be used to create several texturing effects that would otherwise be difficult to achieve. In this tutorial we will create a soap bubble - not something we could attempt before this version of LightWave.
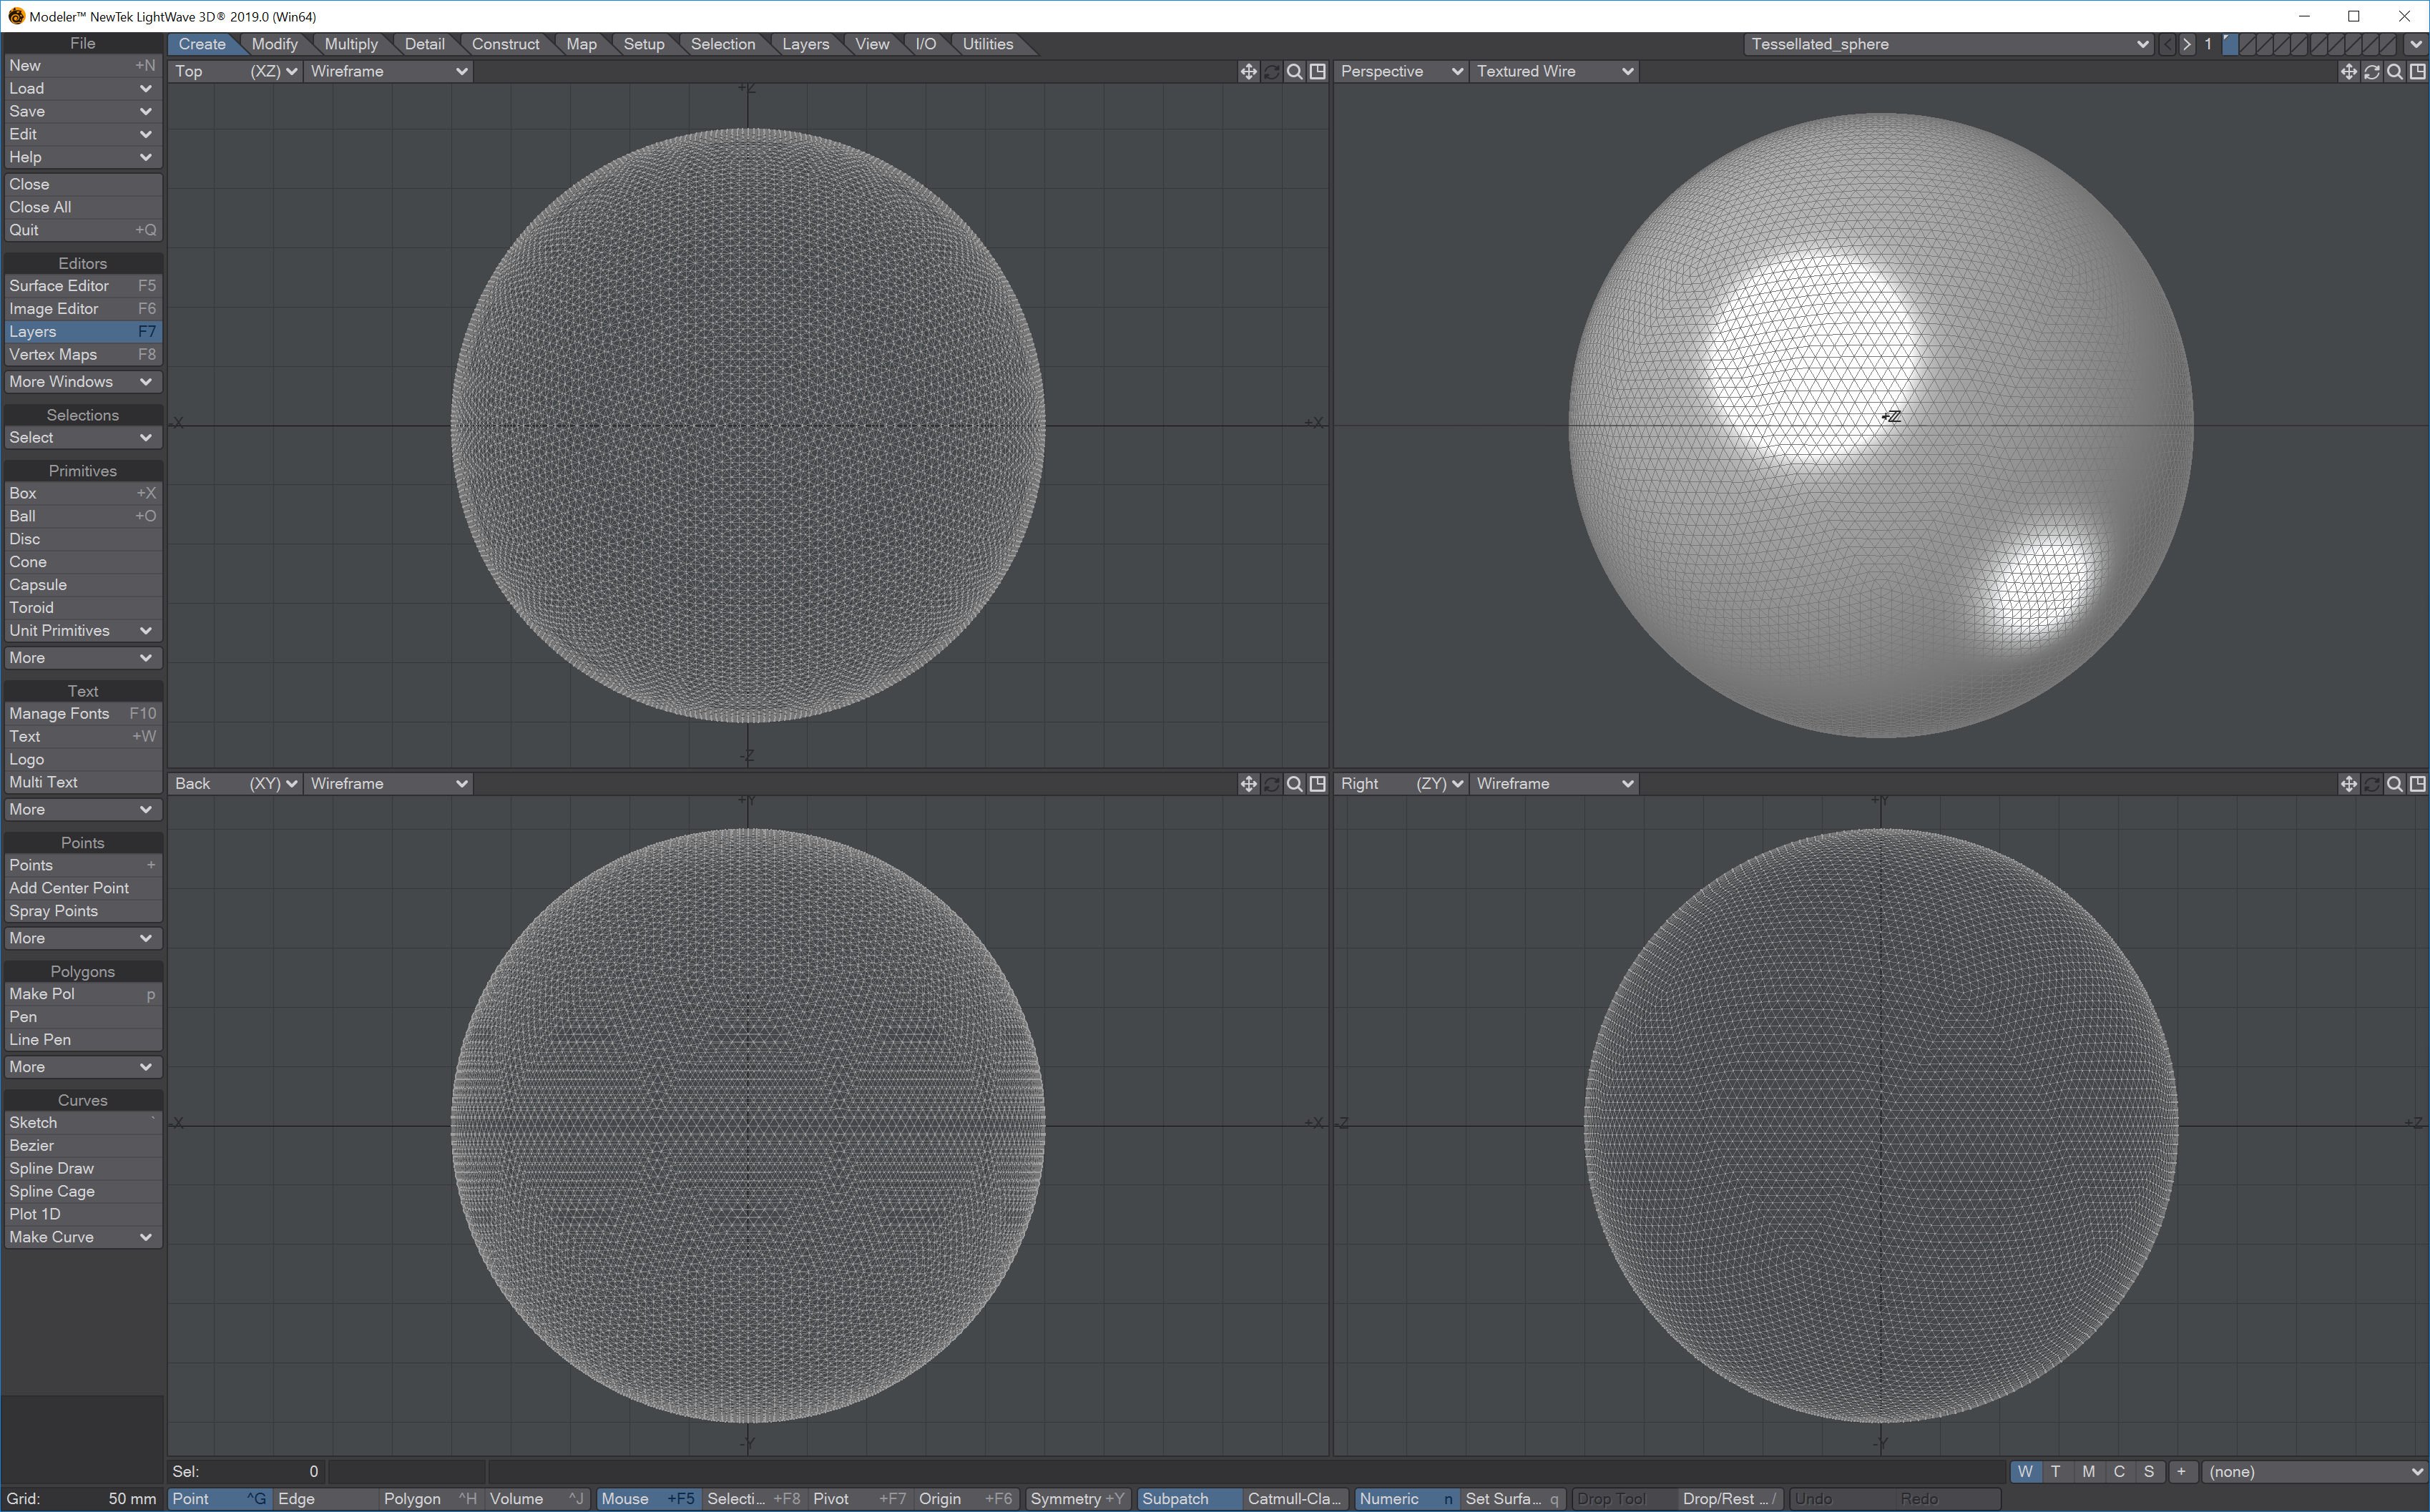
- We'll start with a 1m sphere with lots of polys - it's best to use Tessellation for the creation.
- We'll set up the scene to show off our bubble by adding a ground plane and a sky. Start by creating a ground plane object with either a modeled object that should be at least 10m x 10m, a Layout Ground Plane from the Model menu, or a Ground Plane primitive added by creating a null and changing it from a Mesh primitive type to a Shape, and then changing the Shape to Plane and setting the Radius to 5m.
Then, go into Backdrop Effects ( Ctrl F5 ) and add the SunSky (Hosek-Wilkie) environment. Go into the Sunsky panel and set the scene's default Distant Light as the Item for the sun, and a Max Luminance of 1.8. We also need to add an Environment light to bathe our bubble with light.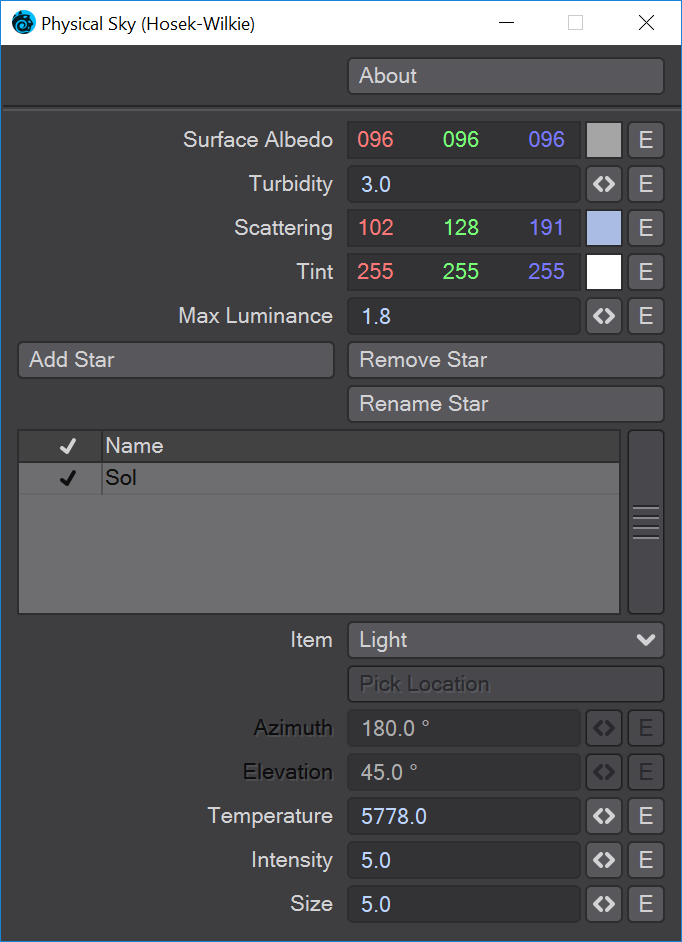
Using an Environment light means we need to make some other changes to our scene, so let's step through those quickly -- Go to the Surface Editor (F5) and select both the sphere and the ground plane surfaces. Go to the Shading Model tab and set both Reflection and Refraction Options to RayTrace Only
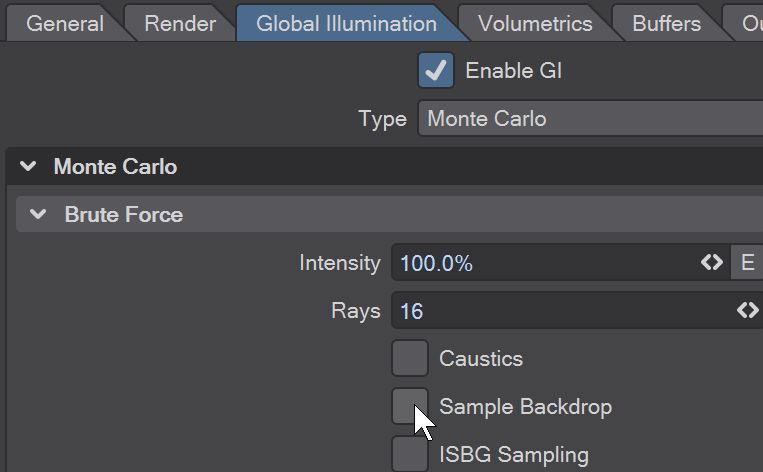
- Go to Render Settings, Global Illumination tab (Alt P) and turn off Sample Backdrop
- In the Environment Light settings, make sure Visible to Camera is checked, otherwise the sky will be black seen through the bubble.

- Go to the Surface Editor (F5) and select both the sphere and the ground plane surfaces. Go to the Shading Model tab and set both Reflection and Refraction Options to RayTrace Only
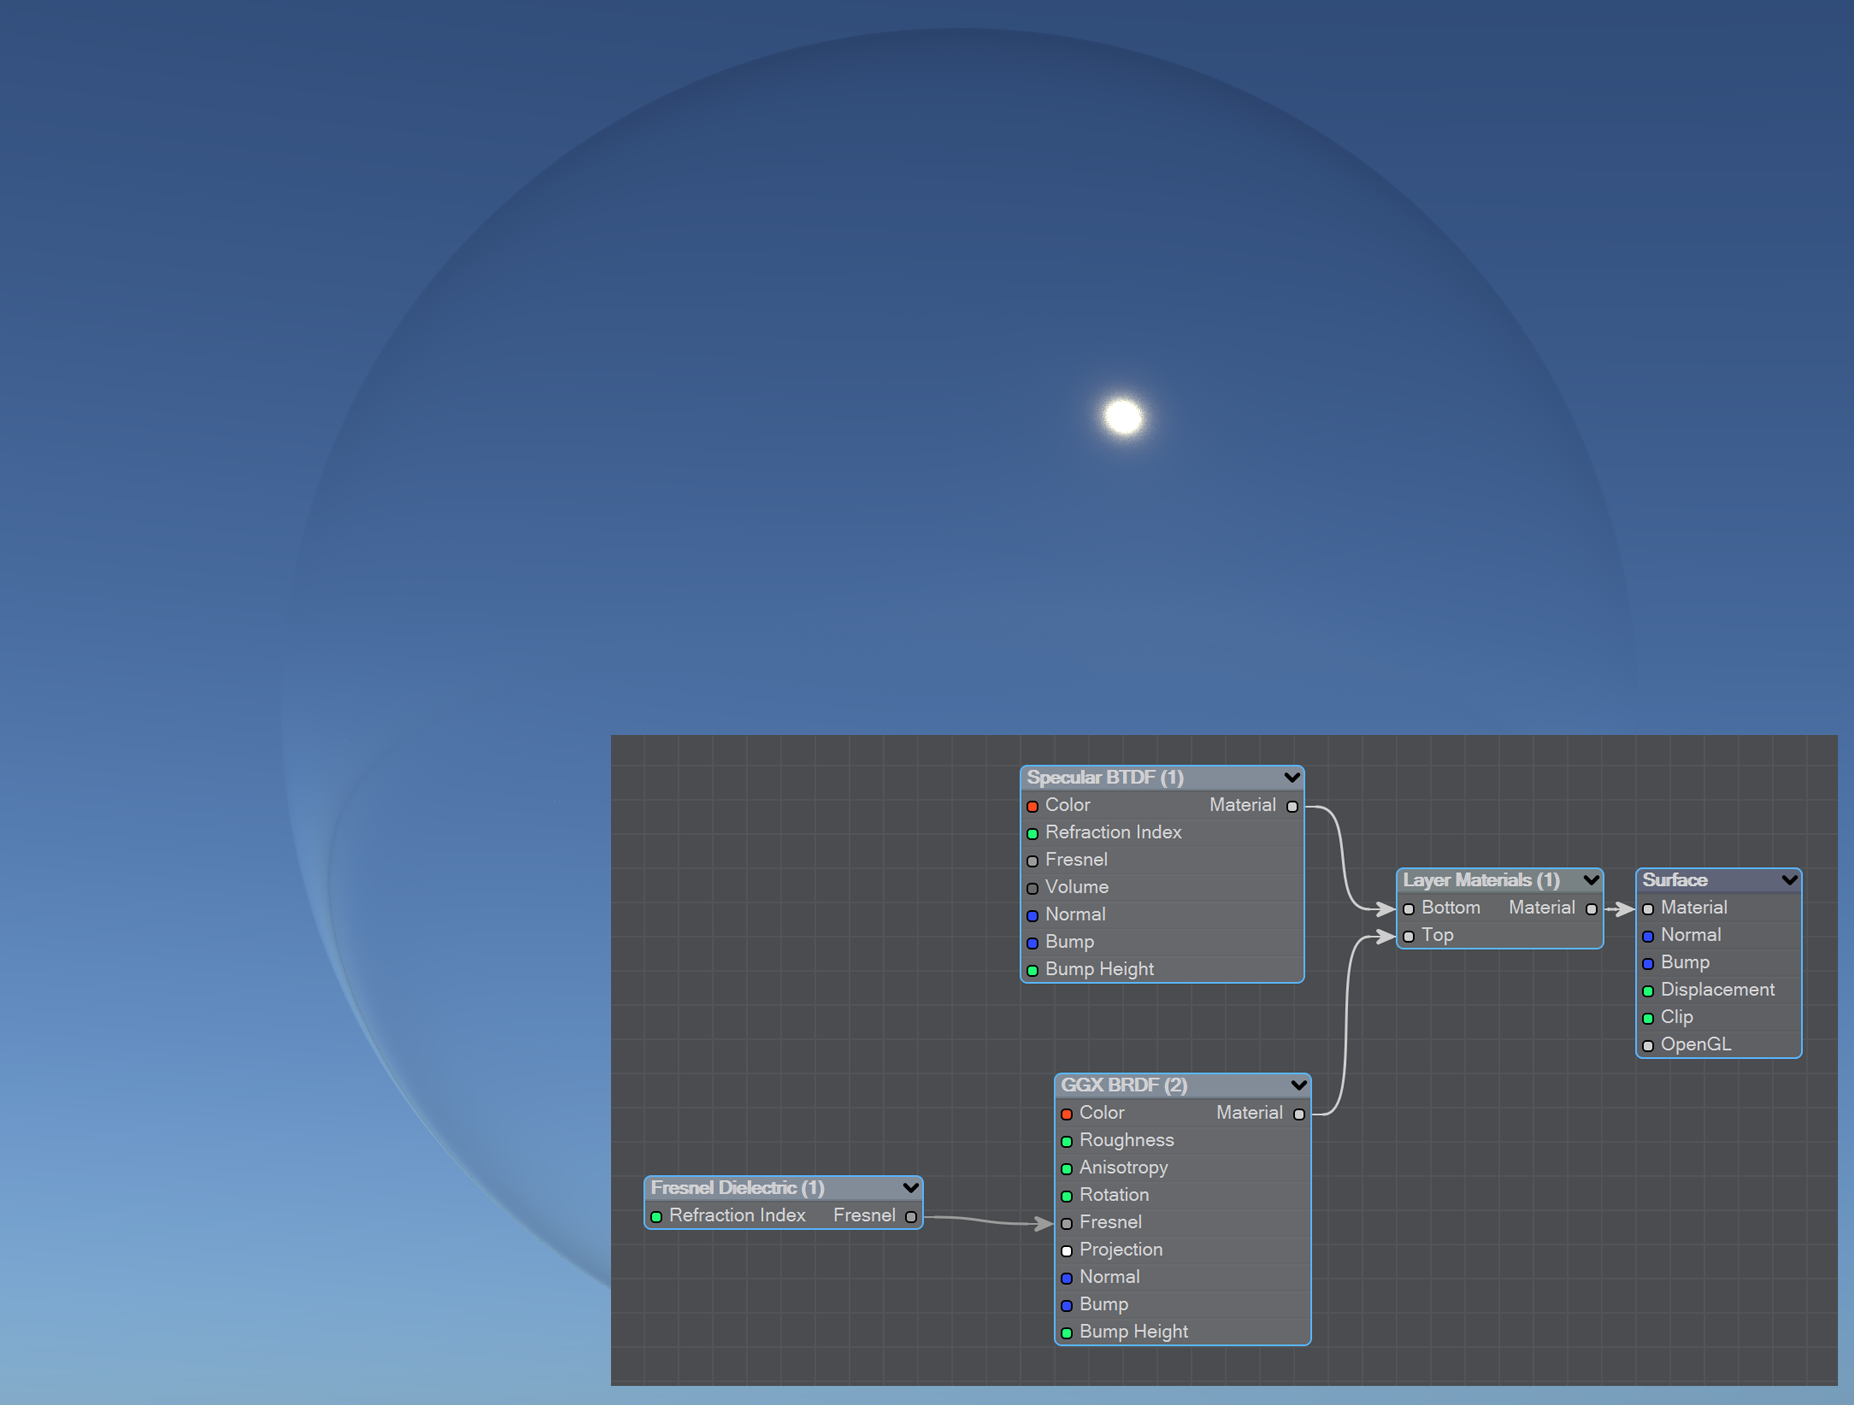
- Add Layer Materials, GGX BRDF, Specular BTDF and Fresnel Dielectric nodes to your network, as shown. Change the Roughness of the GGX BRDF to 8 % and set the Refraction Index for the Specular BTDF to 1.0. With VPR on, you should see a pretty thin-walled bubble.
- To really sell the bubble we need three things - Double Sided needs to be on to better simulate the thin-walled nature of our sphere, iridescence and an odd shape. The first is easy. To get the other two, we'll add some more nodes. Add a Fresnel Iridescent and a Fresnel Multiply, then hook up your existing Fresnel Dielectric to Input B on the Fresnel Multiply node; Fresnel Iridescent to Input A. VPR should be looking really no different at this point, but that's because our Fresnel Iridescent is set with an Iridescence of 0 % - put it to 100 %. It still won't look much more interesting.

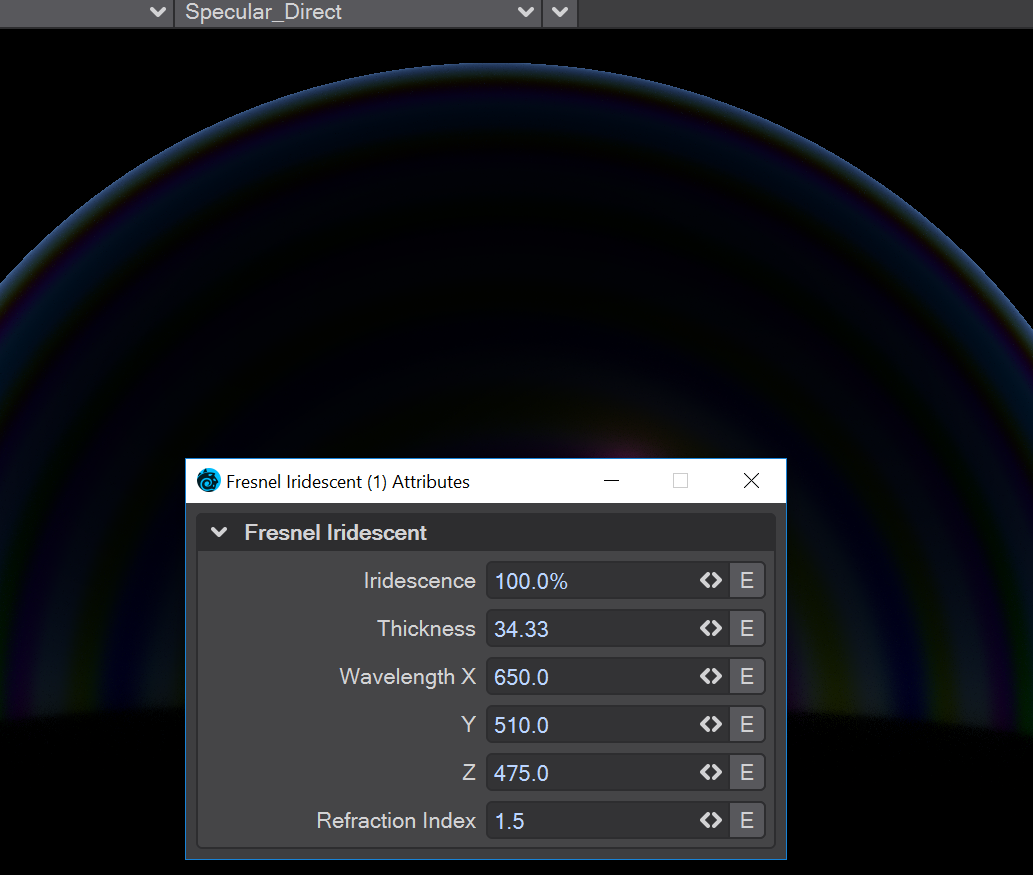
- Change the Render mode to Specular Direct to get a better view of the iridescence. Open the Fresnel Iridescence panel and raise the Thickness setting little by little with the mini slider so you see the colors of your bubble shift through the spectrum. As you get past 3 or so, you should start seeing the spectrum begin to repeat and if you put the Thickness setting to around 30, you should have a nice quantity of repeats.
- Now, let's add the deformity we're looking for. Add a standard (3D) Turbulence node to the network, and hook the Alpha to Displacement on the Destination node. In Object Properties, in your Modifiers list, turn Surface Displacement on and set the value to 150 mm. This should give your bubble a nice wobble and make the iridescent pattern swirl and loop around
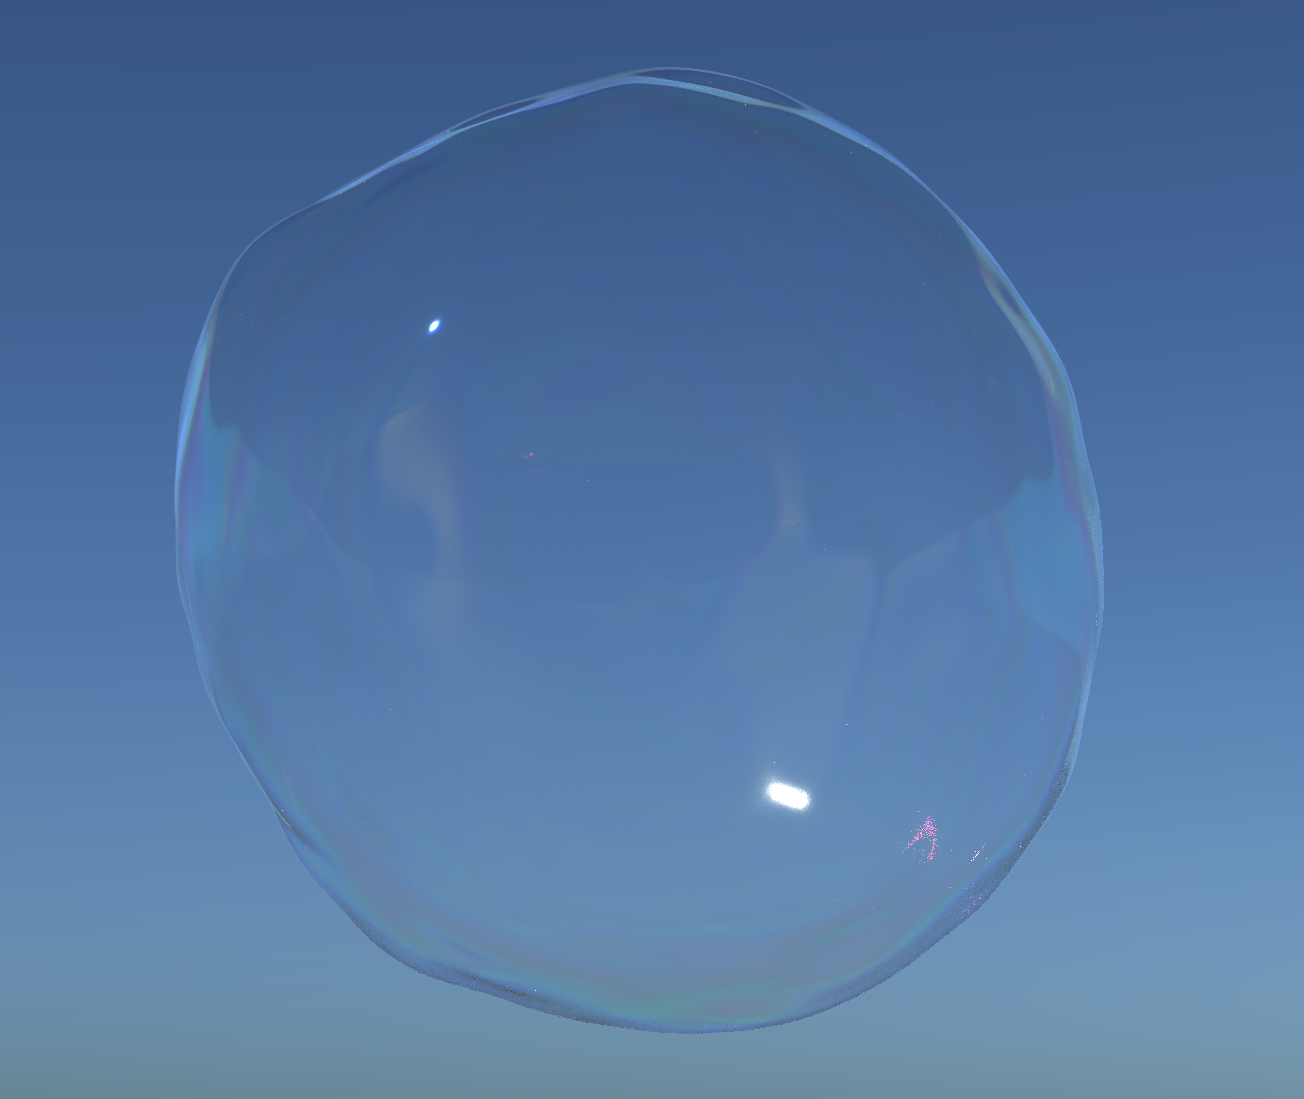
The bubble doesn't look very interesting in the wiki, but will be far more impressive on your machine - and impossible in earlier versions of LightWave 3D.
Mauro Corveloni has very generously given us the scene used for the Welcome to LightWave 2019 image as content. If you load it, you'll see how he used Layer Materials to create his beautiful bubbles.