Example - LightMaps in Unity
One way to make your lighting more subtle in Unity is to use lightmaps to recreate your LightWave lighting. Transferring these lightmaps is done by assigning them to your surface’s Luminosity channel and Unity will automatically place them in a second material slot dedicated to lightmaps.
- Here is a very simple scene with a box, with textures inside for the walls and floor. The textures are images applied to the UV Map in the Color channel.

- The only light in the scene is a Sunlight outside the box angled so that the inside of the box is lit partially. We’ll add a new Spherical light to the scene and position it inside the box, with a falloff that means it just touches one wall and the floor.
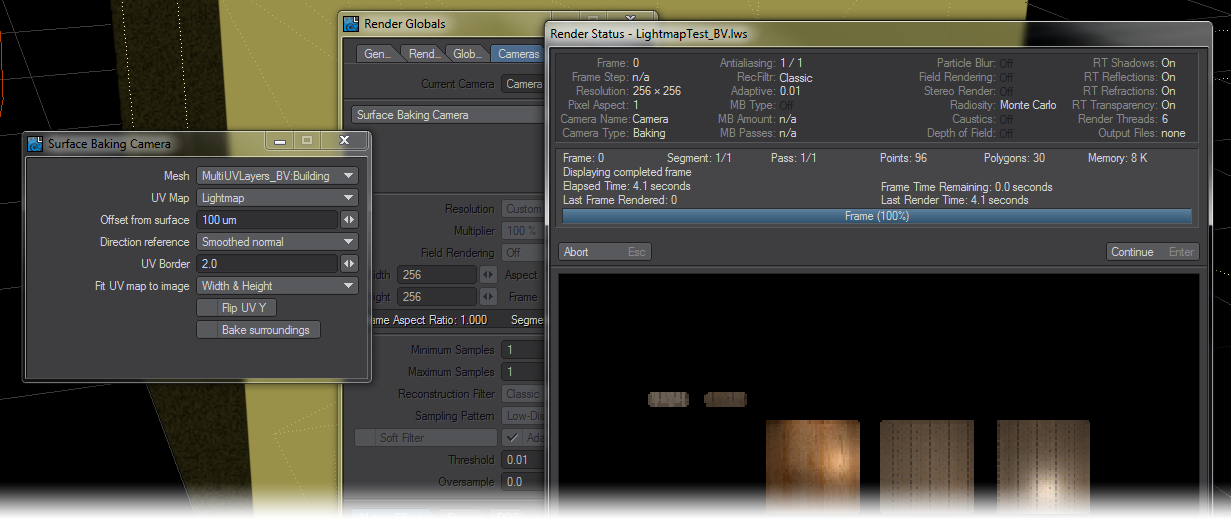
- Now we’ll set up a surface baking camera. Set it to the mesh for the box and the appropriate UV map. Set the resolution low. We’re using 256 x 256 but you may even be able to get away with 64 x 64.
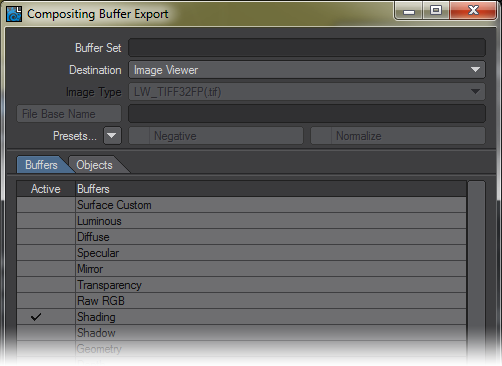
- Add a Compositing Buffer Export to your Image Filters (Ctrl F8) and choose Shading and/or Radiosity.
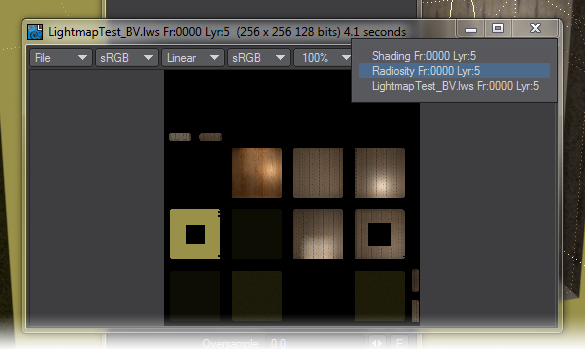
- Render an image. In the Image Viewer’s Layer dropdown you will see the color rendered image, plus an image for the Shading and/or Radiosity.
- In the Surface Editor, add the lightmap render to the Luminosity Channel. LightWave only supports grayscale images for any channel other than Color, but when the scene is sent to Unity, Unity will move the Luminosity Channel mapping to a secondary UV channel for a lightmap, which can be in color.

- Save your objects and scene to update them in Unity.
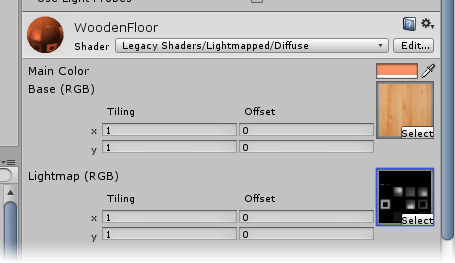
- In Unity, select the object that has the lightmap and you will see that the texture concerned is listed as Legacy Shaders/Lightmapped/Diffuse. There will be two image slots in the Texture - one Base, which should contain your image map and one Lightmap, which may be empty. All you need is click the Select button to add the lightmap image you rendered. The Lightmap won’t look great in the viewport, but pressing Play should show it nicely in the game view.