Example - Ray Type Switch
The Ray Type Switch node allows you to surface items differently depending on how they are seen by the renderer. Here is a very simple example to show it in action.
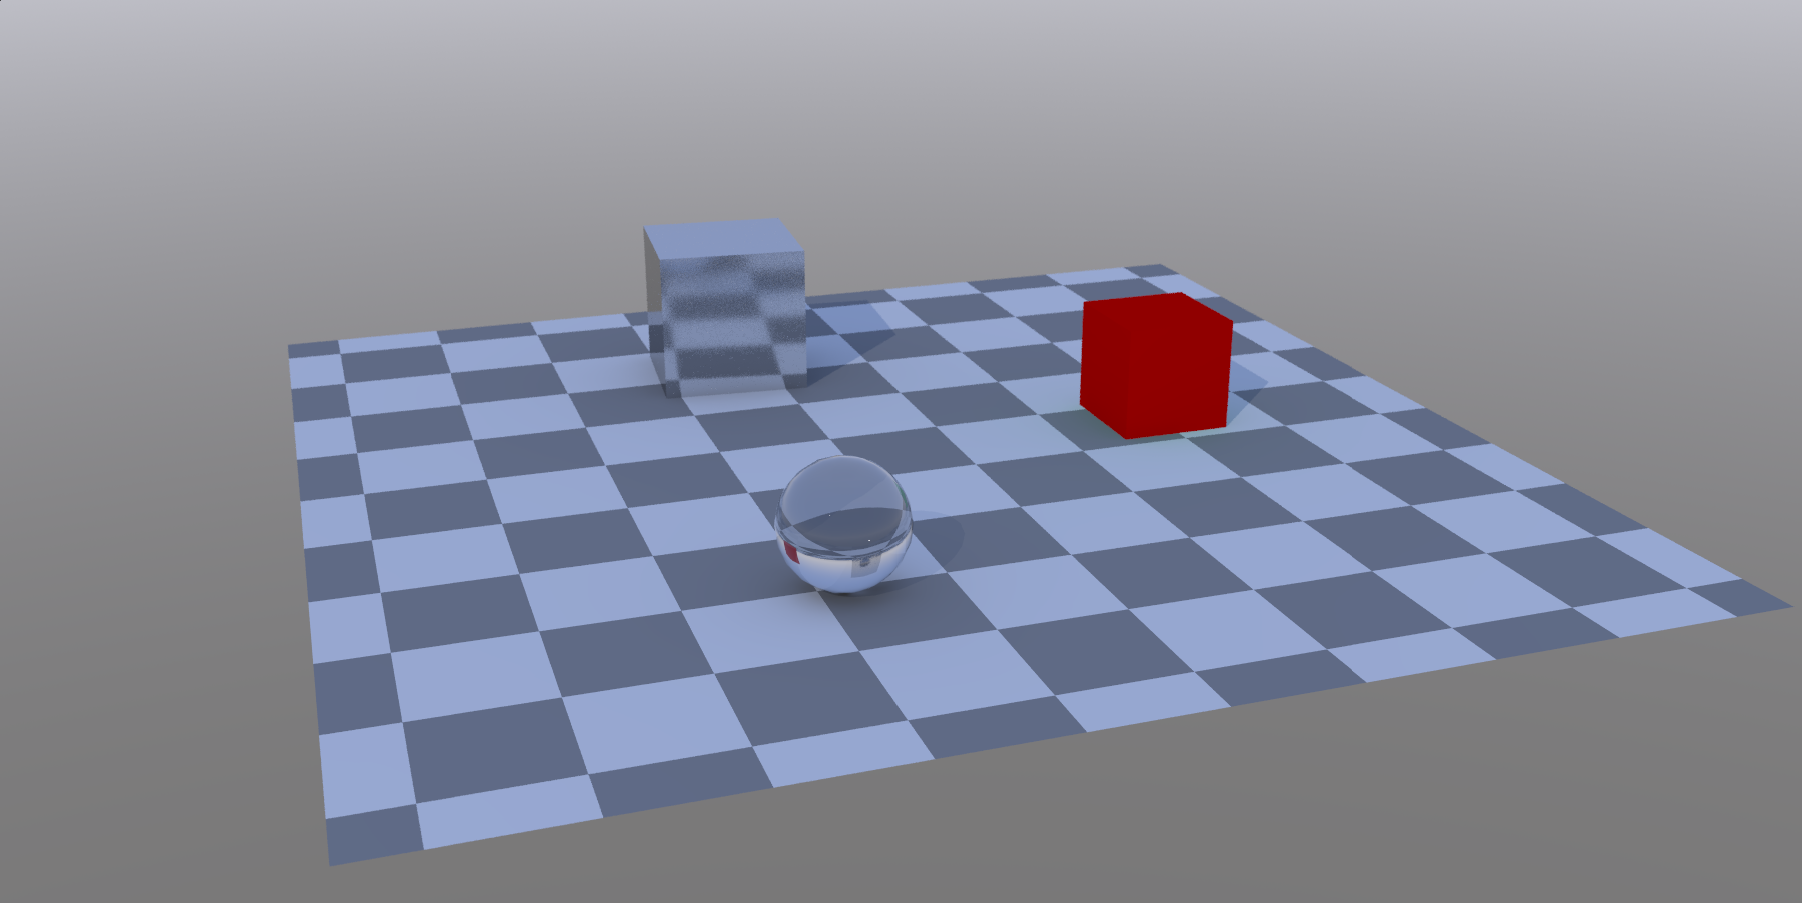
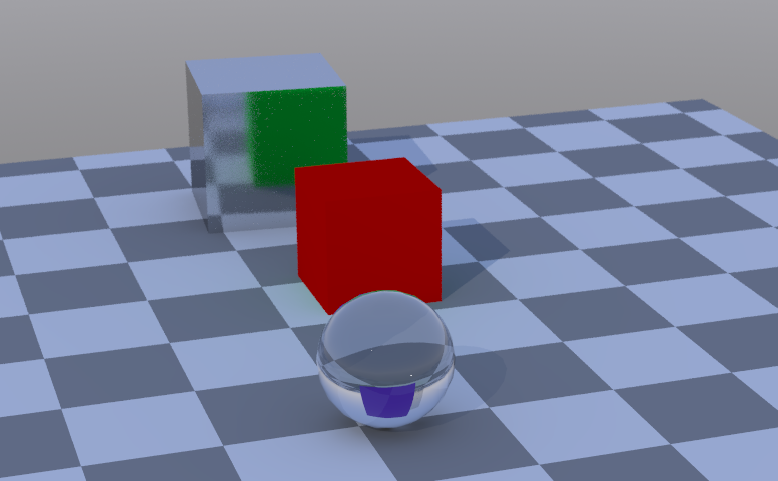
We have a red cube, a reflective cube and a glass sphere. You can just see the red cube in the refraction on the sphere (and if you're really sharp-eyed, a reflection of the sphere in the reflective cube).
We'll now adjust the surfacing for the red cube:
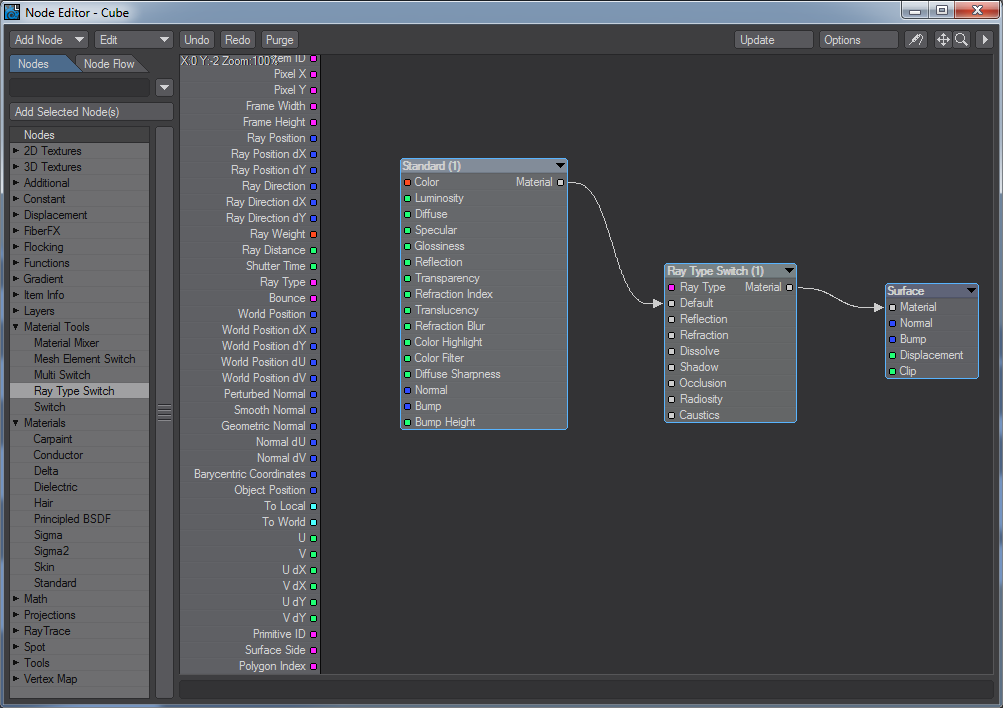
To start with we just hooked a Ray Type Switch node between the Standard material and the destination Surface node. We used the Distance Input, which returns the "standard" rendered output.
On the Input node we hooked Ray Type to the appropriate input on Ray Type:
For this example we are merely going to duplicate the red cube's standard node, but change its color to show the effect clearly. The copy named Reflection is green, that named Refraction is purple. Hooking them to the appropriate inputs on the Ray Switch node doesn't seem to have an obvious effect:


If we move the red cube between the two other objects, things become clearer: