Working with Keyframes
Keyframes can be created in several ways:
- Positioning, rotating or scaling something in Layout
- Hitting Return
- Adding keys in the Graph Editor in an Envelope
Keyframes can be moved in time with:
- The Graph Editor
- The DopeTrack
and lastly keys can be deleted using the:
- Del key on a keyframe
- RMB click on a key in the Dopetrack
- and to remove a complete Envelope of keys, by Shift-clicking on an E icon.
To see the various ways you can add keyframes in Layout, read Animating - Creating Keyframes.
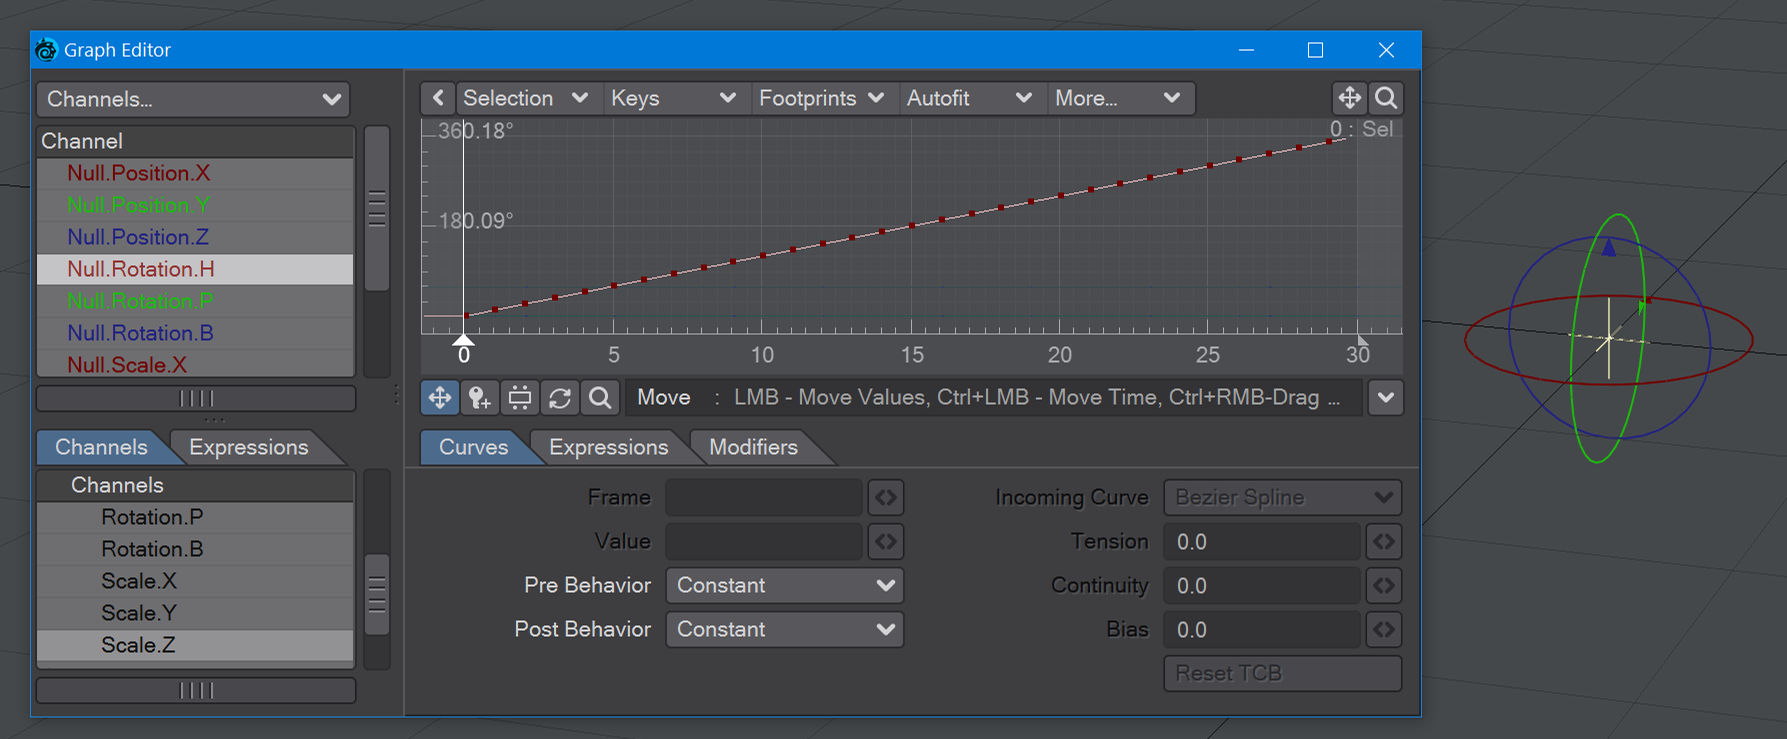
If you have imported a motion capture file or brought in baked keyframe animation from another source, sometimes you can get an axis flip when items are close to positive and negative 180°. The image below shows a null rotating about the Heading axis. Just looking at it in Layout seems okay, but the Graph Editor reveals the jump:

The fix is to use a script added in 2019.1.3 called "Rotofix". You will need to select the item to be modified, then find the plugin. It's in the Utilities > Additional list but you can find it quickly by hitting Ctrl-Space and starting to type "Rotofix".
Here's the result: