Curves
In addition to making polygons from points, you can also create curves. Curves are a powerful Modeling tool and help you create smooth edges and flowing organic objects or object details. They are also used for some Modeling tools as a directional path.
You can create curves using a minimal number of points, yet achieve a smoothness that would take many times the number of points if you attempted to mimic the curve with a polygon. Moreover, with fewer points, it is easy to subtly or dramatically change the curve’s shape. However, by themselves, curves will never render in a finished image. They are a freeform Modeling tool used to create polygonal objects.
There are two types of curves: open and closed. An open curve has a beginning and an end - essentially a curving line. A closed curve has no beginning or end; it is a closed loop. A circle is a closed curve.
Creating from Points
You can also create curves from points in a similar manner to creating polygons.To create a curve:
- Create a few points. Clicking with your RMB using the Points tool ( Create > Points > Points ) will work.
- Your points must be selected in the order you want the curve to flow. However, if you immediately go to - or were using - the Point Selection mode, the points should already be in the selected state. If not, select them in the desired order.
- To create an open curve from the points, click Create > Curves: Make Curve > Make Open Curve or press Ctrl P.
To create a closed curve from the points, click Create > Curves: Make Curve > Make Closed Curve.
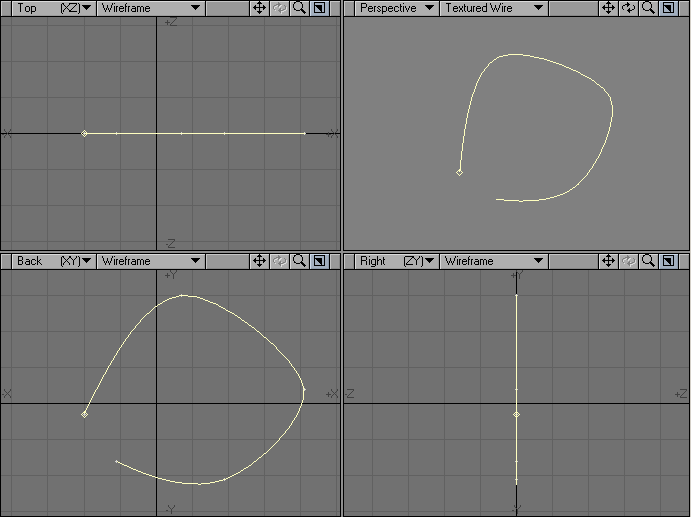
You can modify the curve’s shape by simply moving the individual points. Notice how the curve flows smoothly through the interior points. It is easiest to see this as you drag points on either side of a point. If you need additional control, you can add additional points to an existing curve.
To add points to a curve: Select the spline or splines, activate the Add Points tool (Multiply > Subdivide > Add Points) and click anywhere along the curve.
To delete points from a curve:
Select the points and use the Cut command (Ctrl X) or the delete key.
Curve Direction
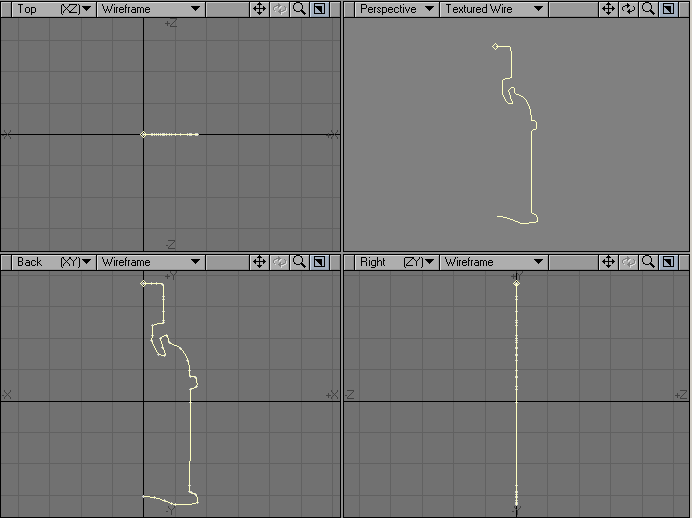
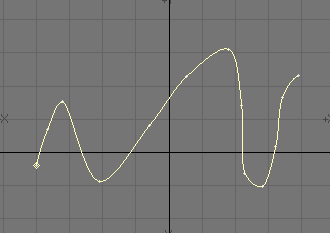
Curves also have a head and tail. This is important for certain Modeling operations. When the curve is selected in the Polygon Selection mode, the head is indicated by a small diamond; it is the first point you selected when creating the curve.
You can flip the head and tail around by using the Flip command (Detail > Polygons > Flip or using the F keyboard shortcut).
Using Control Points
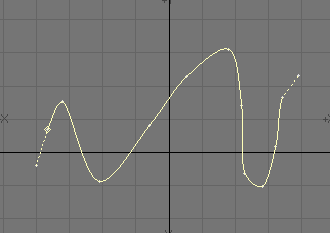
When using a curve as a Modeling tool, sometimes you need to adjust the curve to get it to “that perfect angle.” Because of the way that points control an open curve’s shape, it can be difficult to get the desired result at the ends of a curve. Fortunately, Modeler lets you have extra “control” points at each end, which affect the curve’s shape, but don’t actually become part of the curve’s Modeling characteristics.
To activate control points on a curve:
- If you have more than one curve, select your desired curve first using the Polygon Selection mode.
- Choose Detail > Curves: Control Points > Begin Control Point to detach the first point from the curve. It is your starting control point. Dragging this point will change the shape of the curve at the new starting point.

Choose Detail > Curves > Control Points > End Control Point to detach the last point from the curve. It is your ending control point. Dragging it will change the shape of the curve at the new ending point.
The Control Points commands will also toggle the control point state off, if selected again.
It is perfectly legal to have only a beginning or ending control point on a curve.
If you plan to use control points on a curve, you should add an extra point at the beginning and end of a curve for that purpose.
If you require a sharper corner anywhere on a curve, simply add an extra point close to the corner using Construct > Subdivide > Add Points.
Smoothing Two Overlapping Curves
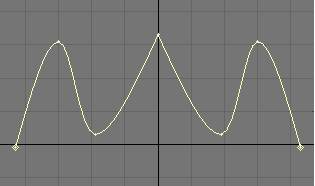
When two curves share the same end point, because of point merging or some other reason, the curve may not flow smoothly through that point. This can be particularly troubling when designing a complex spline cage. You could kill the curve (K), reselect the points and create a new curve, but there is an easier way.
To smooth curves sharing a common end point:
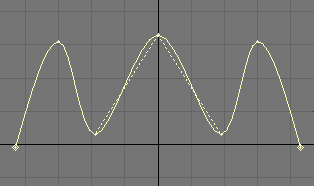
- Select the two curves (Polygon Selection mode).
- Click Detail > Curves > Smooth . This smooths the joint as though the two curves were originally plotted as one continuous curve - even though they remain individual curves.
Make sure that the point they share is in fact one point. (If not, merge or weld the points into one.)
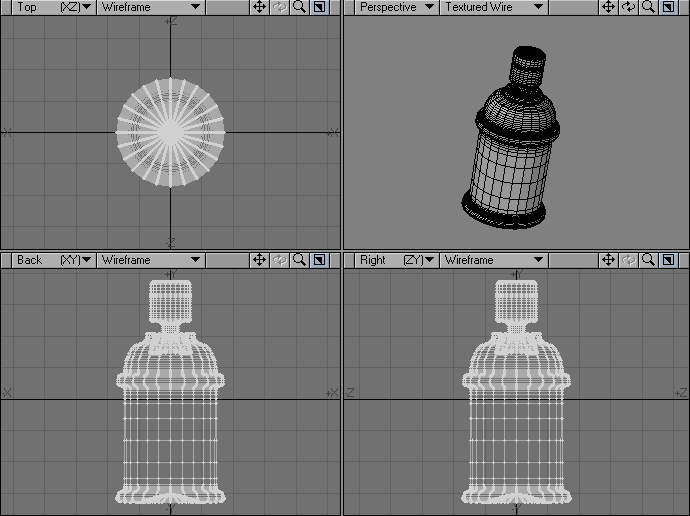
Turning Curves into Polygons
Since curves will never be seen by themselves, sometimes you need to turn them into polygons.
To convert a curve into a polygon, select the curve(s) and choose Construct > Convert > Freeze. Each independent curve will become a distinct polygon. An open curve will be closed (between its end points) before it is converted to a polygon.
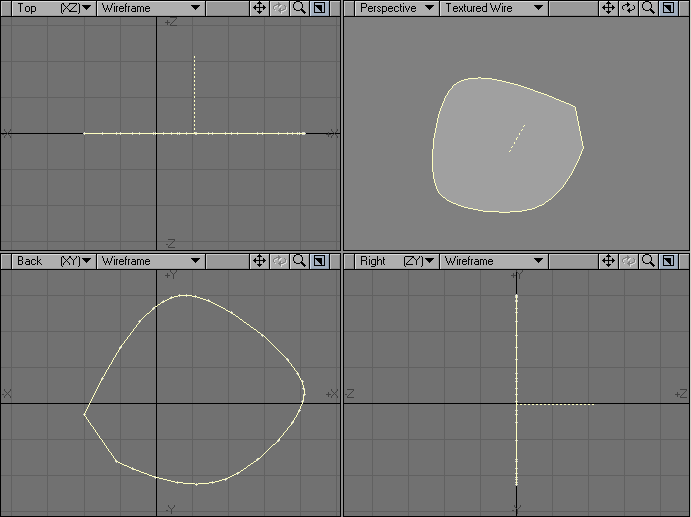
The number of points that Modeler will use to approximate the curve depends on the setting for Curve Division on the General Options Panel (Modeler > Edit > General Options).
Using Modeling Tools on Curves
Most of the standard Modeling tools will work on a curve as well. However, a curve is sometimes converted into a polygon before the tool is applied. This happens with the Extrude and Lathe tools (Multiply menu), for example.