Layered Objects
A LightWave object can consist of many layers. In Layout, these layers become discrete objects when sent to Layout. This can have important and various consequences for organizing your modeling work.
Pivot
Once sent to Layout, an object is manipulated around its pivot point, rather than the individual points, edges or polygons. The pivot point is situated at the center of Modeler space, called the Origin. The Origin is shown in Modeler with thicker grid lines than normal and objects can be moved to the origin using the Center All... function (F2)
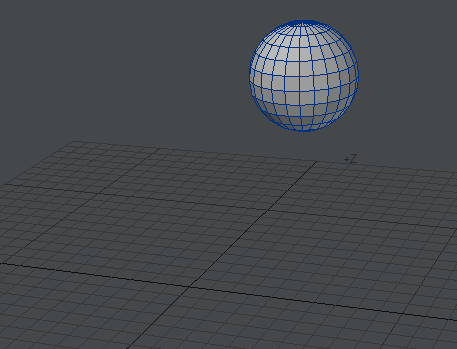
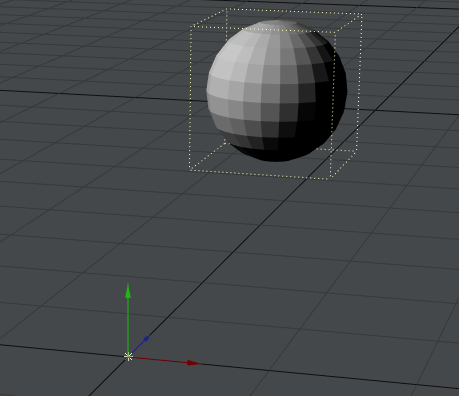
This sphere is away from the Origin in the Perspective view. This means that once the object is sent to Layout, its pivot point around which it will be moved, scaled and - most importantly for a ball - rotated will not be located at the center of the ball.
Other Layers
Once you have multiple layers in an Object it can be important to differentiate between them. Those other layers might just be tools used for cutting or measuring and thus do not need to appear in Layout. It may be that you have several elements that need to be animated separately (a door in the same layer as walls cannot open and close. It needs to be in its own layer to have its own pivot to do so), and once you do have several layers, how to keep track of them? A multi-layered object will just be named "Object: Layer 1, Layer 2, Layer 3, etc." by default. The answer to both of these issues lies in the Layers Panel (F7).
Pros and Cons
It is certainly true that in certain instances, positioning elements where they should be in layers in Modeler can be seen as more simple, but there are two main problems. Taking a simple example:
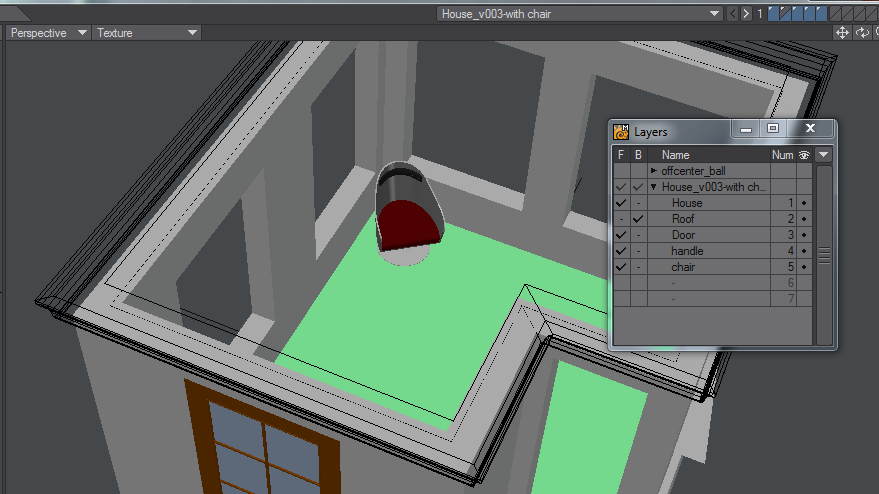
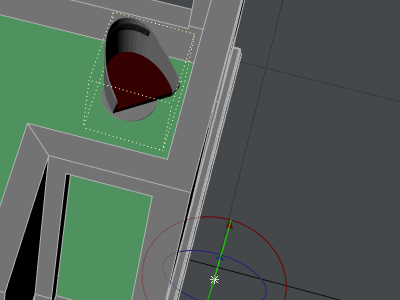
This little house has the door, and even its handle, on separate layers so they can be animated opening and closing. That's good, but the chair has been positioned in the corner. When this object is sent to Layout there is no problem moving the chair around, however rotating is not so simple:
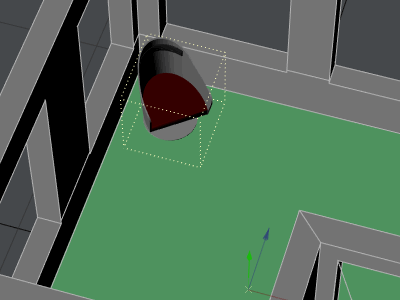
This is why it is important to do positioning and rotation in Layout and leave the chair (in this example) at 0, 0, 0.
The second problem is re-use of the chair model for use in a different house. If it is just a layer in another object, it won't be easy to find again. Better would be to leave the chair in a separate object, that way it can be easily reused in other scenes.
Off-center pivots
There are times when you want to have the pivot off-center. In the example above, for the door hinges from its left side so you have two choices.
- Move the door in Modeler so that that side of the door is at 0, 0, 0
- Center the door, but move its pivot in Layout to put it in the right place as the following two examples show:
Example - Door Pivot 1
Example - Door Pivot 2